️ Delivery Drivers Can't Find Your House at Night? Fix It in 2 Minutes.
No more missed packages. No more guests calling from the street. No more wiring or electrician bills.
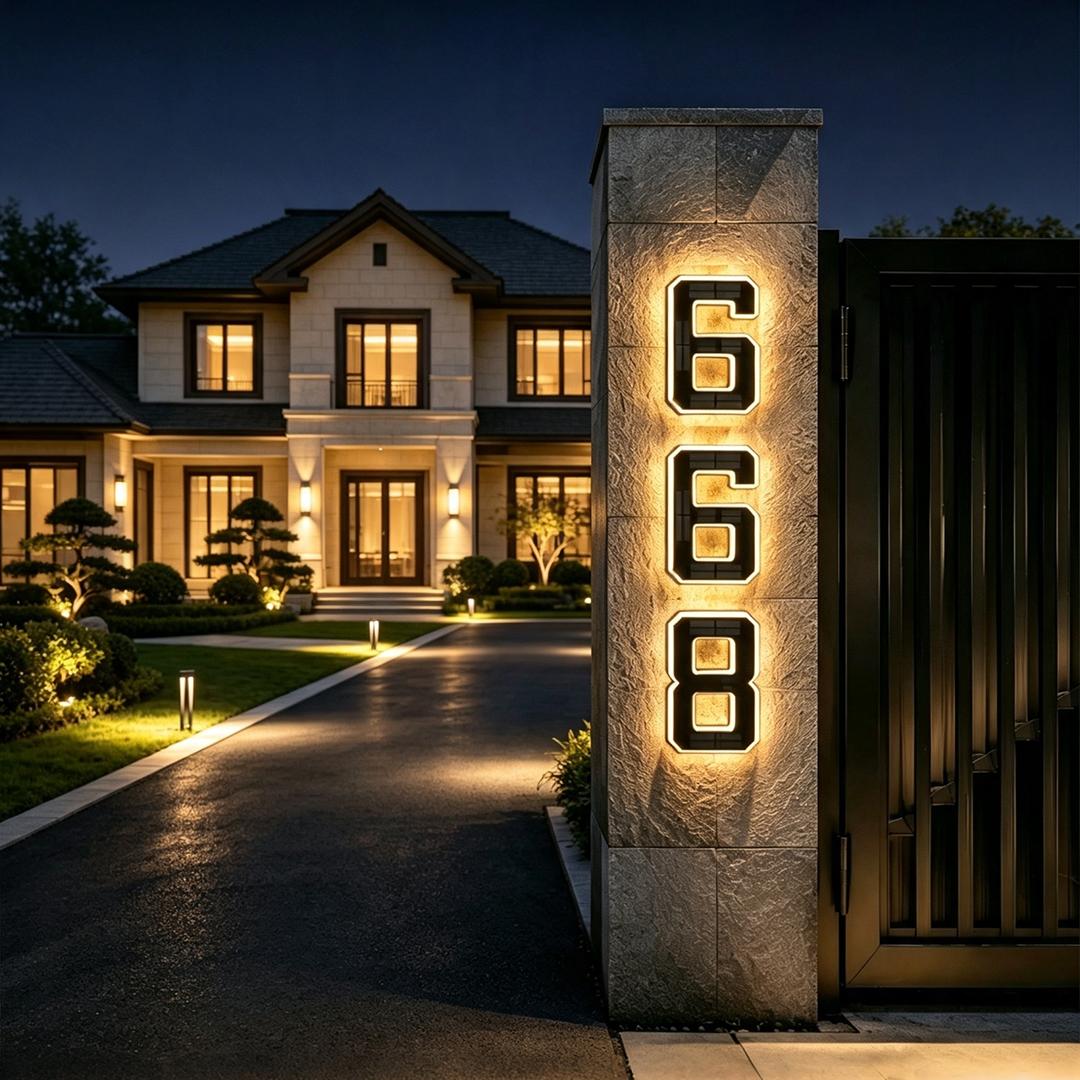
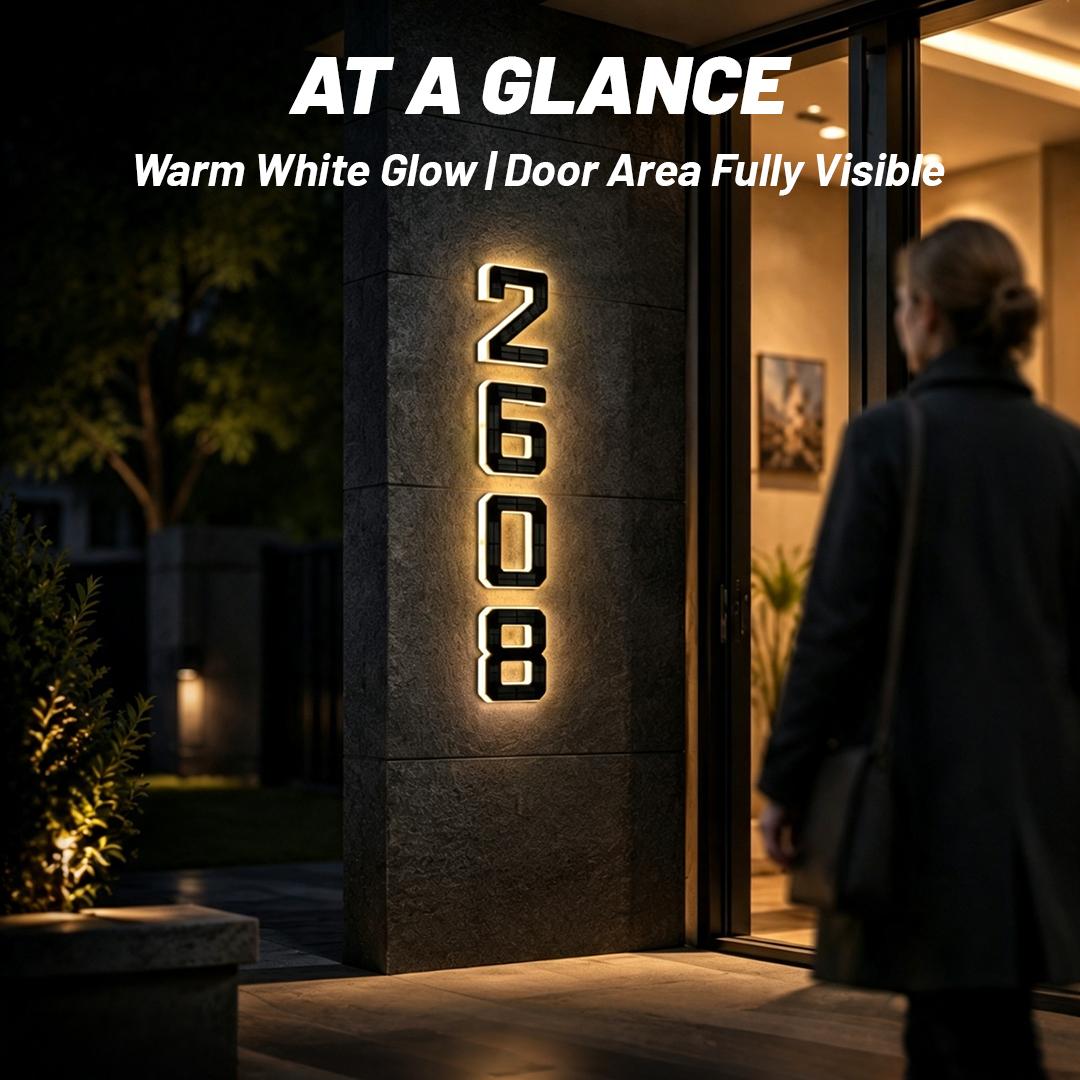
These solar-powered LED house numbers glow with a warm backlit halo that's visible from 150+ feet away — automatically turning on at dusk and off at dawn.
━━━━━━━━━━━━━━━━━━
️ 100% SOLAR POWERED, ZERO ELECTRICITY
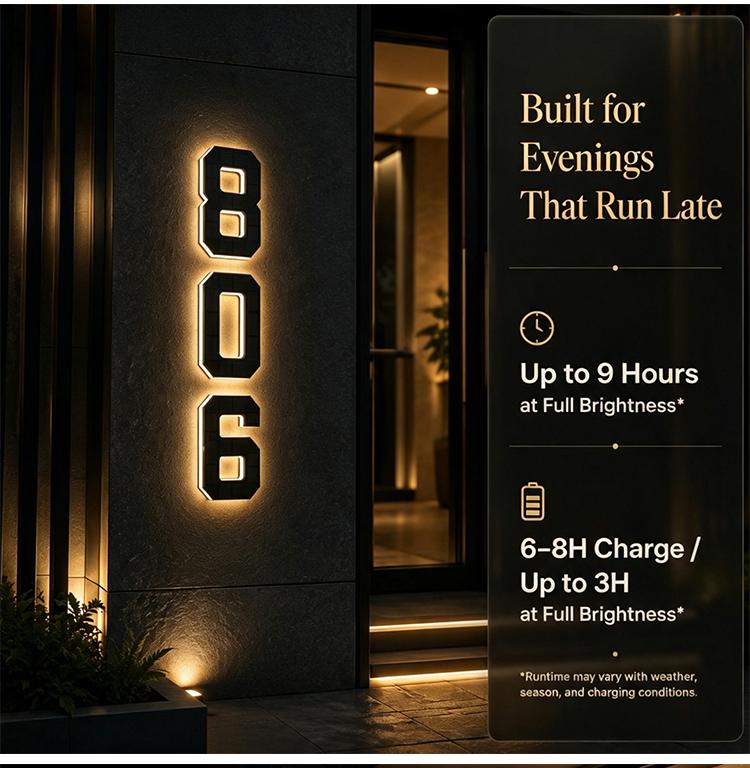
Built-in solar panel charges all day. 8-12 hours of bright glow on a single charge. No outlets, no wires, no monthly cost.
IP65 WATERPROOF & ALL-WEATHER READY
Rain, snow, heat, or cold — sealed electronics and rust-proof ABS housing keep them shining year-round. Built to withstand the elements.
6.7 INCH EXTRA LARGE
Big, bold, modern font that reads clearly from down the block. Emergency responders, delivery drivers, and guests find your home instantly — day or night.
EASY INSTALL, NO WIRING NEEDED
Screw mount hardware included. Mount on brick, stucco, concrete, wood, vinyl siding, and more. No electrician, no wiring.
DUSK-TO-DAWN AUTO SENSOR
Smart light sensor detects ambient light and turns the LED on automatically at night, off during the day. Set it once, never touch it again.
PERFECT HOUSEWARMING GIFT
Every new homeowner needs this. Give curb appeal + practicality in one box. Great for houses, apartments, condos, businesses, and mailboxes.
━━━━━━━━━━━━━━━━━━
HOW TO INSTALL
Screw Mount (Recommended for Rough Surfaces)
Best for: brick, stucco, concrete, stone, uneven surfaces
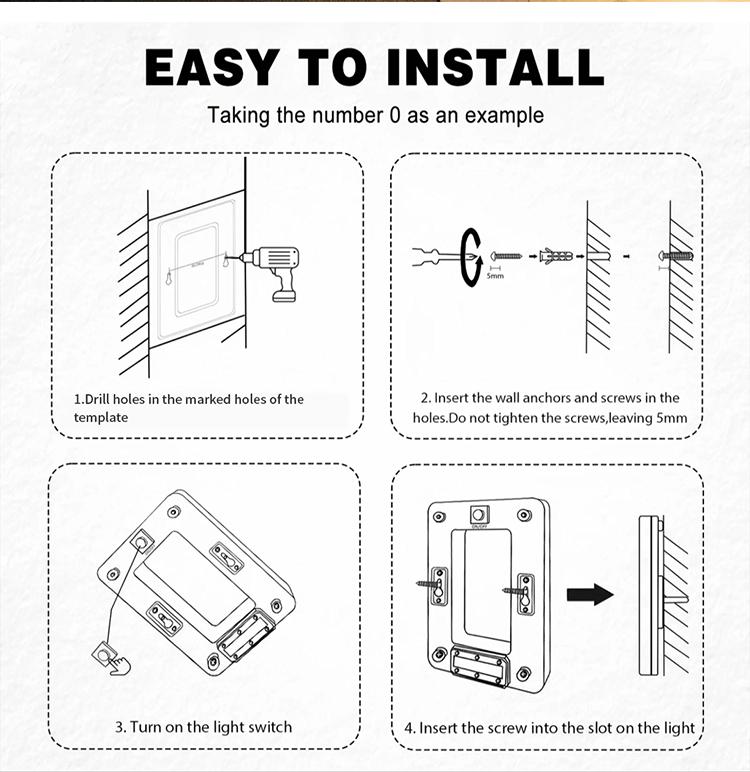
Step 1 — Mark the holes
Hold each number against the wall and mark the screw hole positions with a pencil.
Step 2 — Drill pilot holes
Use a 6mm (1/4") drill bit to drill holes at the marked points. For brick/concrete, use a masonry bit.
Step 3 — Insert wall anchors
Tap the included plastic wall anchors into the holes until flush with the wall.
Step 4 — Screw in the numbers
Align each number over the anchors and drive in the screws with a Phillips screwdriver. Do not overtighten.
━━━━━━━━━━━━━━━━━━
FIRST-TIME ACTIVATION
1. Remove the insulating plastic tab from the back of each number (protects the battery during shipping).
2. Turn the power switch to ON (located on the back panel).
3. Place in direct sunlight for 6–8 hours to fully charge before first use.
4. The LED will automatically turn on at dusk once charged.
Pro Tip: To test the light during the day, cover the solar panel with your hand — the LED should light up within 5 seconds.
━━━━━━━━━━━━━━━━━━
️ INSTALLATION TIPS
• Mount in a spot that gets at least 4–6 hours of direct sunlight per day
• Avoid placing under dense tree cover or roof overhangs that block sunlight
• Keep numbers at least 1 foot away from other outdoor lights (prevents the auto-sensor from being confused)
• For best visibility, mount 4–5 feet above ground level
• Numbers are solar only — NOT rechargeable via USB
━━━━━━━━━━━━━━━━━━
View more
Safety & compliance
Seller info
•Business name: Suqian Heiku Trading Co Ltd
•Business address: In the E-commerce Industrial Park, No. 88 Zhongxing West Road, Sanzhuang Town, Suqian, Jiangsu, China
-38%$19.74$32.00
Free shipping
Solar House Numbers for Outside, 6.7 Inch Light Up LED Address Numbers, Waterproof Backlit Modern House Number Sign for Home Mailbox yard garden street garage lighting





 zero
zero one
one two
two three
three four
four five
five six
six seven
seven eight
eight


![[Solar] Stained Glass Mosaic Disk Lights, Automatic, Wireless, Waterproof, Outdoor Decorative Pathway LED Garden Lights](https://p16-oec-general-useast5.ttcdn-us.com/tos-useast5-i-omjb5zjo8w-tx/af54f58f6c824b83898e3697895d62ef~tplv-fhlh96nyum-crop-webp:2000:2000.webp?dr=12190&t=555f072d&ps=933b5bde&shp=8dbd94bf&shcp=607f11de&idc=useast5&from=2378011839 "[Solar] Stained Glass Mosaic Disk Lights, Automatic, Wireless, Waterproof, Outdoor Decorative Pathway LED Garden Lights")



![[Solar] Stained Glass Mosaic Disk Lights, Automatic, Wireless, Waterproof, Outdoor Decorative Pathway LED Garden Lights](https://p16-oec-general-useast5.ttcdn-us.com/tos-useast5-i-omjb5zjo8w-tx/af54f58f6c824b83898e3697895d62ef~tplv-fhlh96nyum-resize-webp:600:600.webp?dr=12190&t=555f072d&ps=933b5bde&shp=8dbd94bf&shcp=607f11de&idc=useast5&from=2378011839 "[Solar] Stained Glass Mosaic Disk Lights, Automatic, Wireless, Waterproof, Outdoor Decorative Pathway LED Garden Lights")


![[BackToSchool] Solar Powered 4G Security Camera CB174S, 4MP HD Color Night Vision, Built-in Cellular Card, No WiFi Outdoor Camera for Farm/Home with IP65 Waterproof, 4G LTE Data Service need activate tiktokshopbacktoschool, Speaker, Lens, Protection](https://p19-oec-general-useast5.ttcdn-us.com/tos-useast5-i-omjb5zjo8w-tx/0b8863cfaa614e4c9f8e08ae29a329cc~tplv-fhlh96nyum-resize-webp:600:600.webp?dr=12190&t=555f072d&ps=933b5bde&shp=8dbd94bf&shcp=607f11de&idc=useast5&from=2378011839 "[BackToSchool] Solar Powered 4G Security Camera CB174S, 4MP HD Color Night Vision, Built-in Cellular Card, No WiFi Outdoor Camera for Farm/Home with IP65 Waterproof, 4G LTE Data Service need activate tiktokshopbacktoschool, Speaker, Lens, Protection")
![[2026 Upgrade] PHI VILLA 13/15FT Double Layer Patio Umbrella with 36 Solar LED Lights, Wind-Resistant Large Outdoor Rectangular Umbrella with Base,DealsForYouDays](https://p16-oec-general-useast5.ttcdn-us.com/tos-useast5-i-omjb5zjo8w-tx/5acbc98580494ecab3a60be8baba9480~tplv-fhlh96nyum-resize-webp:600:600.webp?dr=12190&t=555f072d&ps=933b5bde&shp=8dbd94bf&shcp=607f11de&idc=useast5&from=2378011839 "[2026 Upgrade] PHI VILLA 13/15FT Double Layer Patio Umbrella with 36 Solar LED Lights, Wind-Resistant Large Outdoor Rectangular Umbrella with Base,DealsForYouDays")


