Hyper x cloud 2 mic on pc setup
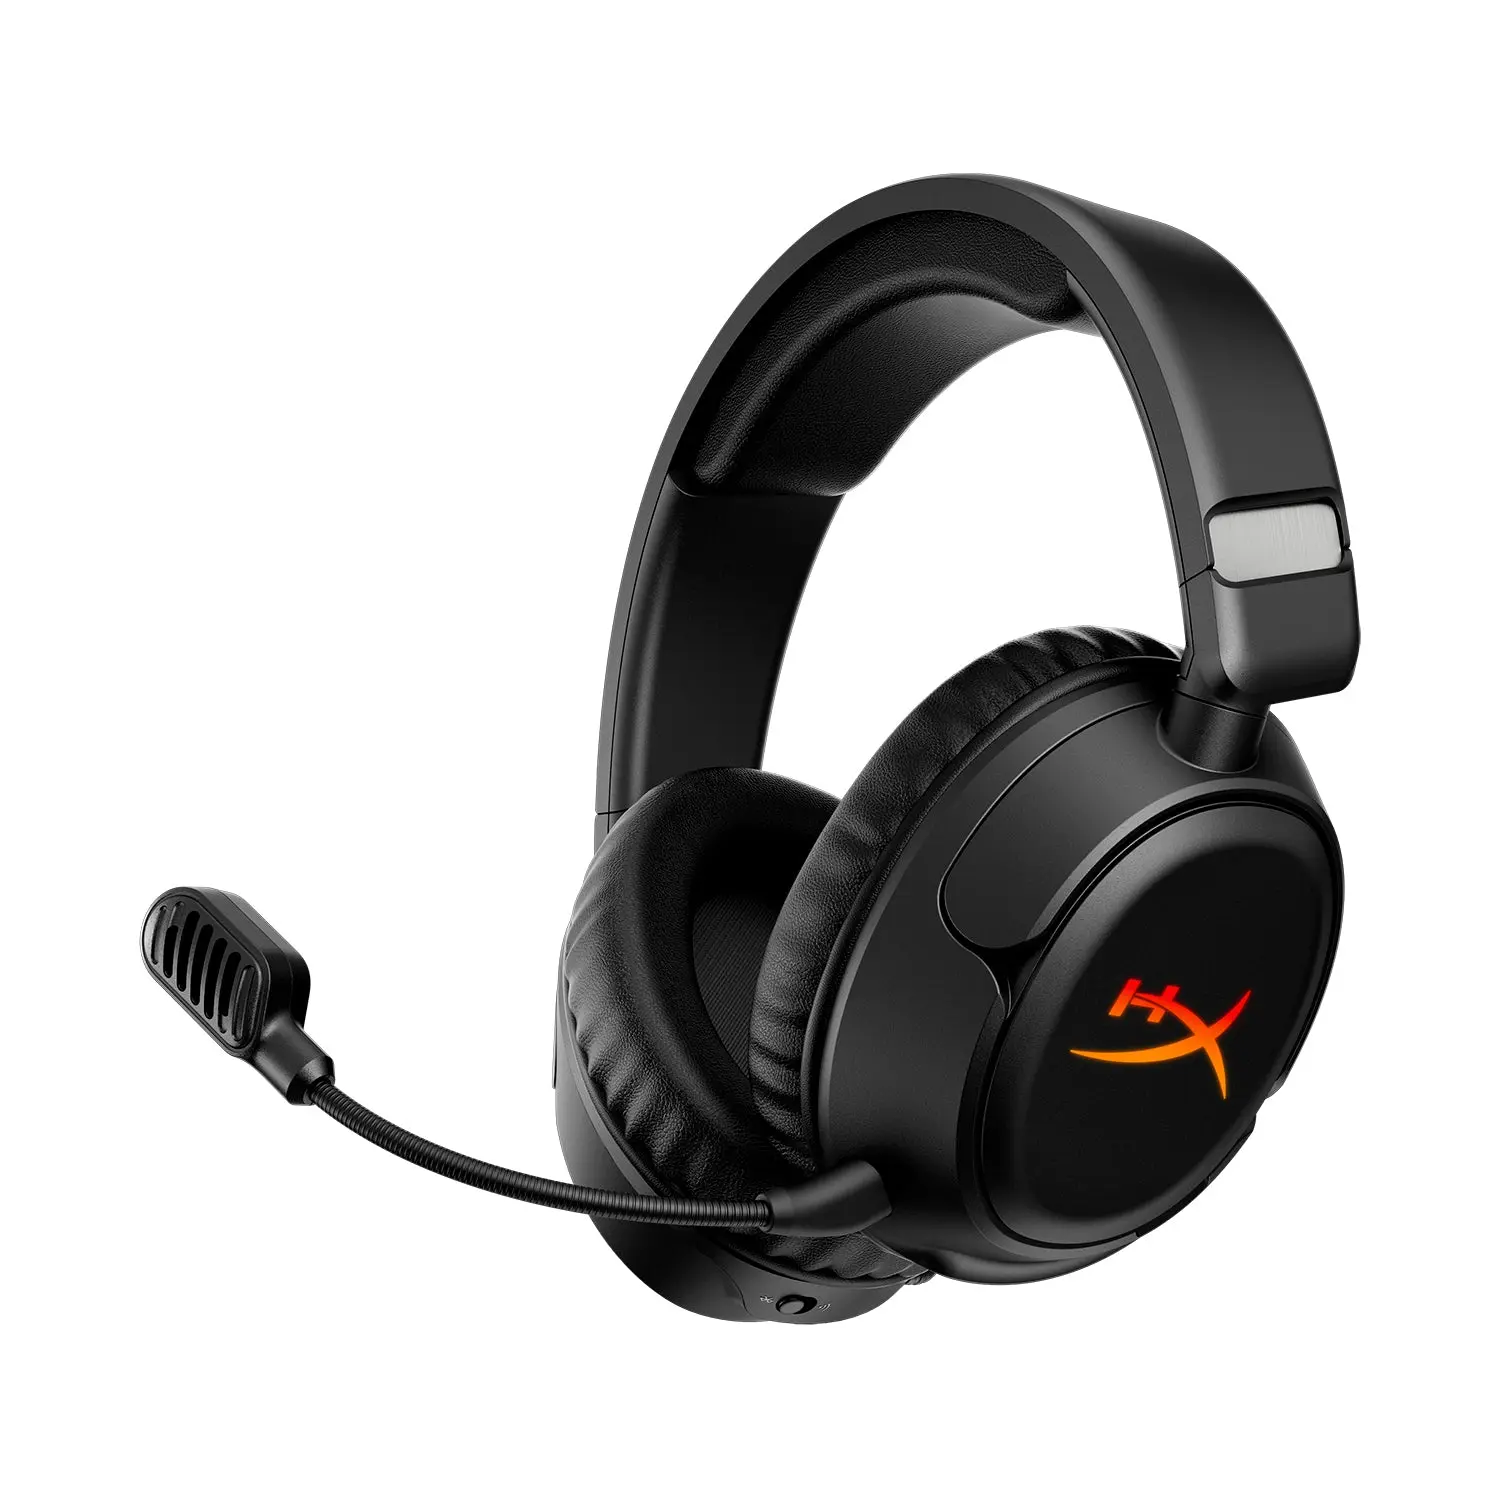
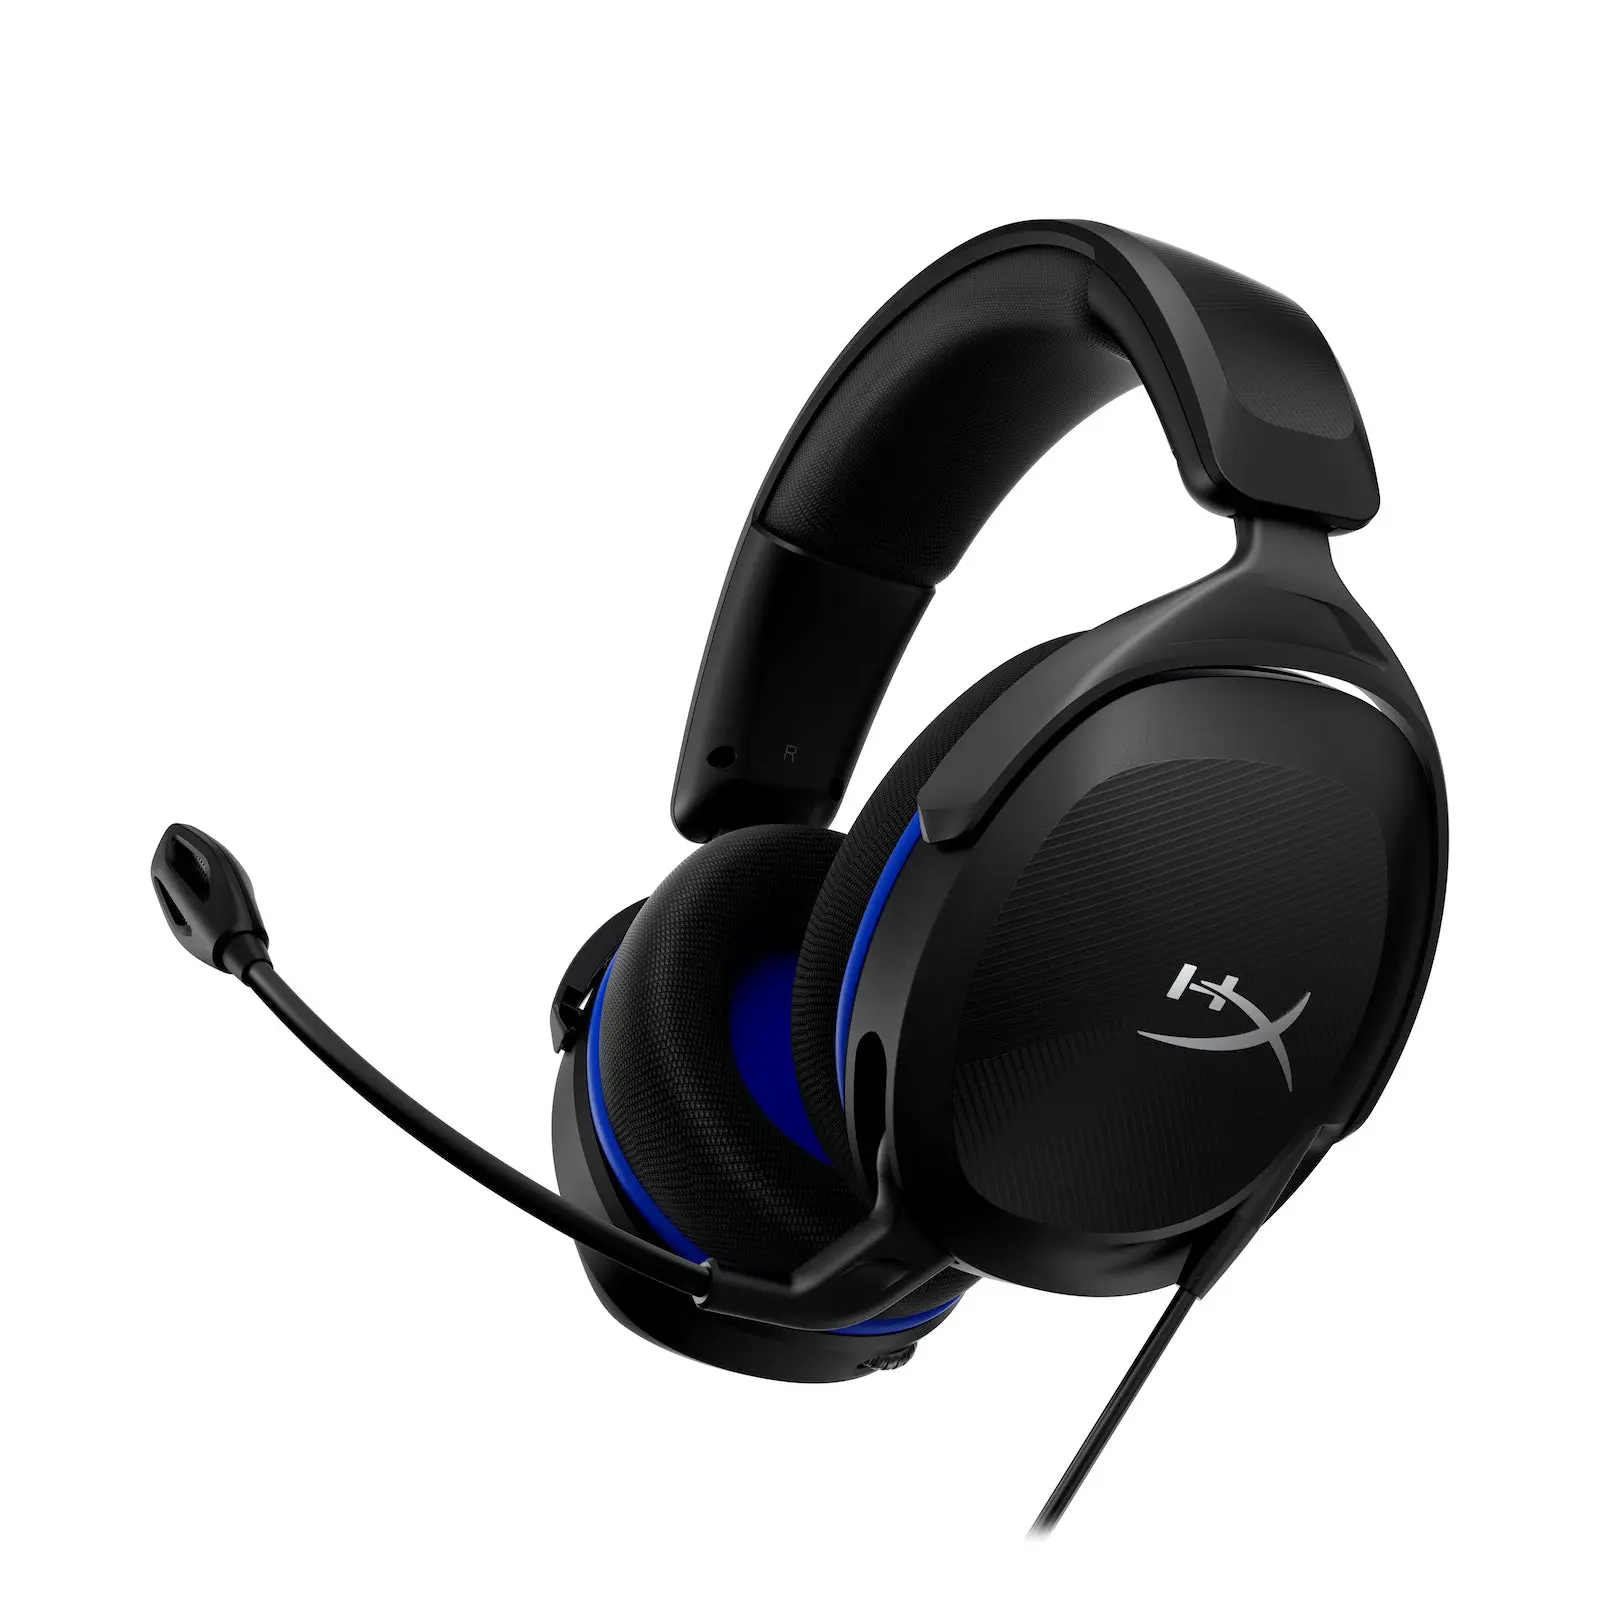
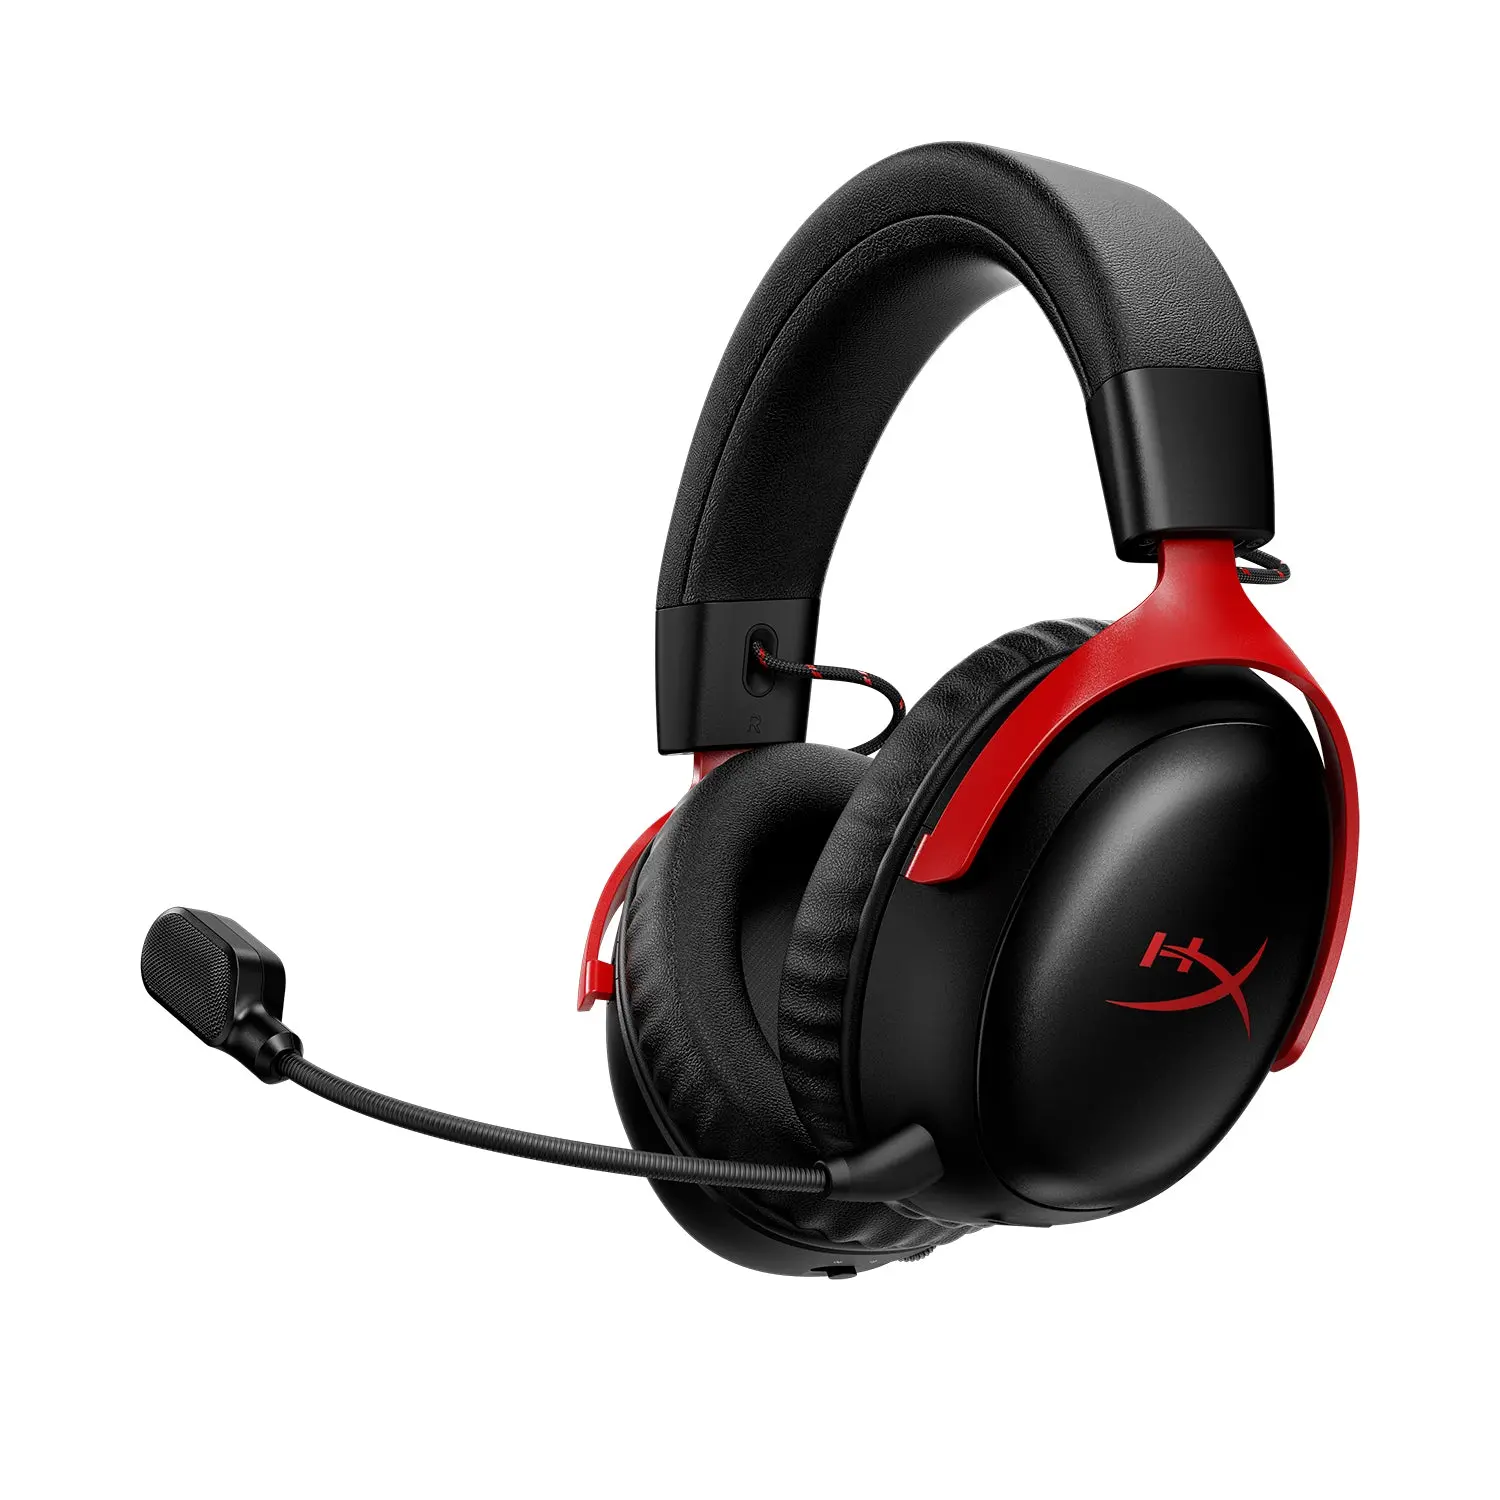
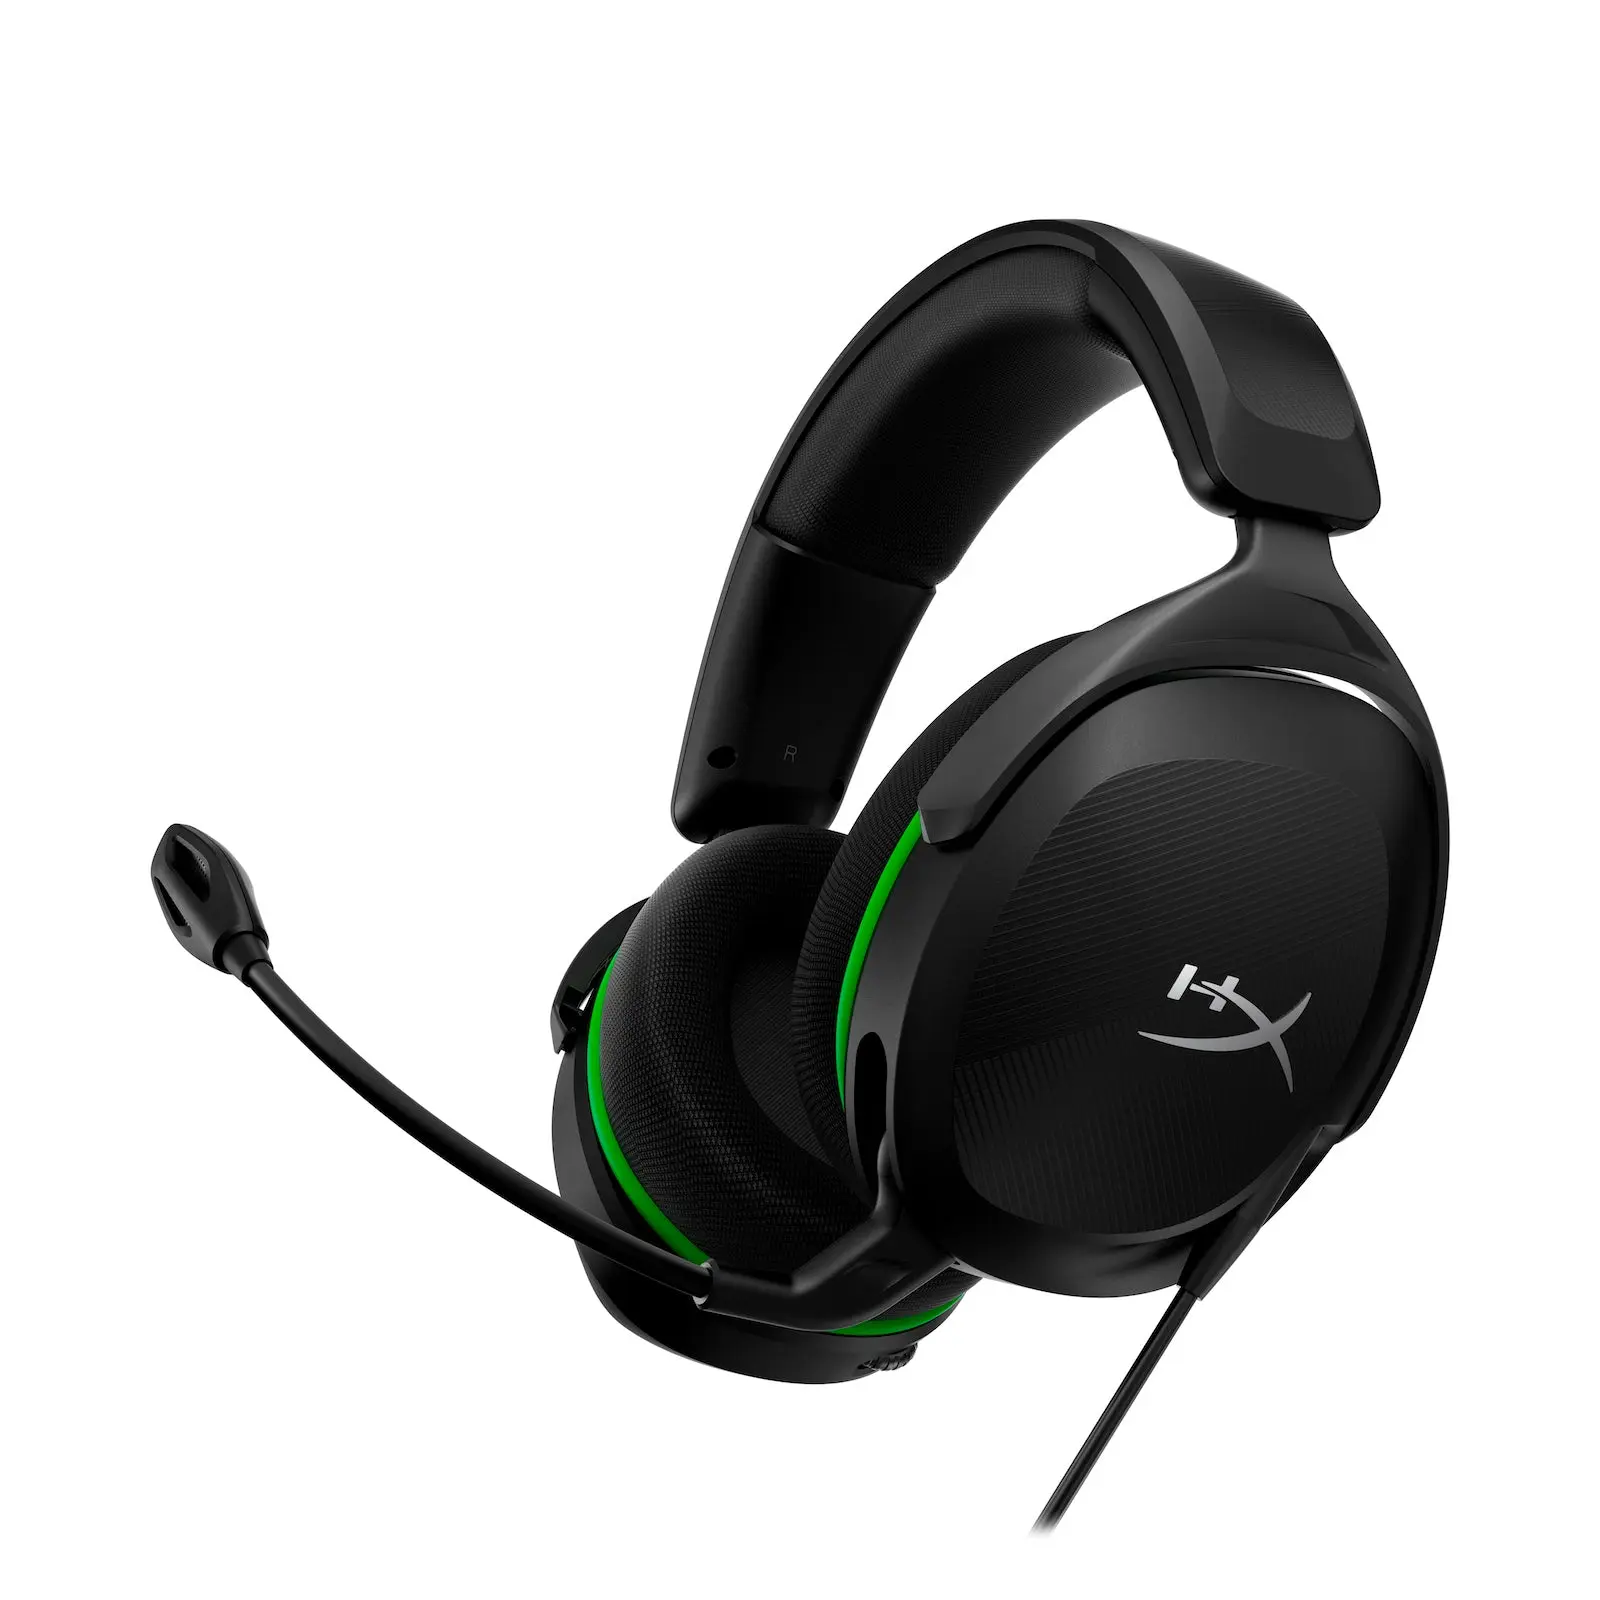
The HyperX Cloud 2 mic is a high-quality gaming microphone designed for clear voice communication on PC. It features noise-cancellation technology, making it ideal for gaming and streaming.
Featured brands
Authenticated productsVerified shops




HYPERX

4.6
1.7K sold
$129.99


HYPERX
4.7
166 sold
$49.99


Related Searches
Related Categories
Introduction
Setting up the HyperX Cloud 2 mic on your PC is a straightforward process that can greatly enhance your gaming and communication experience. This microphone is known for its exceptional sound quality and comfort, making it a favorite among gamers and streamers alike. To get started, ensure that your HyperX Cloud 2 headset is properly connected to your PC. You can do this via the USB sound card or the 3.5mm audio jack, depending on your preference. Once connected, follow these simple steps to configure your mic:
- Open your PC's sound settings by right-clicking the sound icon in the taskbar.
- Select 'Sounds' and navigate to the 'Recording' tab.
- Find the HyperX Cloud 2 microphone in the list, right-click on it, and select 'Set as Default Device'.
- Adjust the microphone levels to ensure optimal sound quality.
- You can also enable any enhancements available for better performance.