Build acrygel with tips
Acrygel is a hybrid nail enhancement product that combines the best qualities of acrylic and gel systems. It offers a strong, durable finish while maintaining a lightweight feel, making it a popular choice for nail art enthusiasts.
Featured brands
Authenticated productsVerified shops




Related Searches
Related Categories
Introduction
If you're looking to elevate your nail game, learning how to build acrygel with tips is essential. Acrygel is a revolutionary product that merges the strength of acrylic nails with the flexibility of gel nails. This unique combination allows for a long-lasting, beautiful finish that can be shaped and styled to your desire. When building acrygel with tips, you can achieve stunning nail art that is both durable and lightweight.
Here’s a step-by-step guide to get you started:
Here’s a step-by-step guide to get you started:
- Prepare Your Nails: Begin by cleaning and shaping your natural nails. Push back cuticles and buff the surface to ensure proper adhesion.
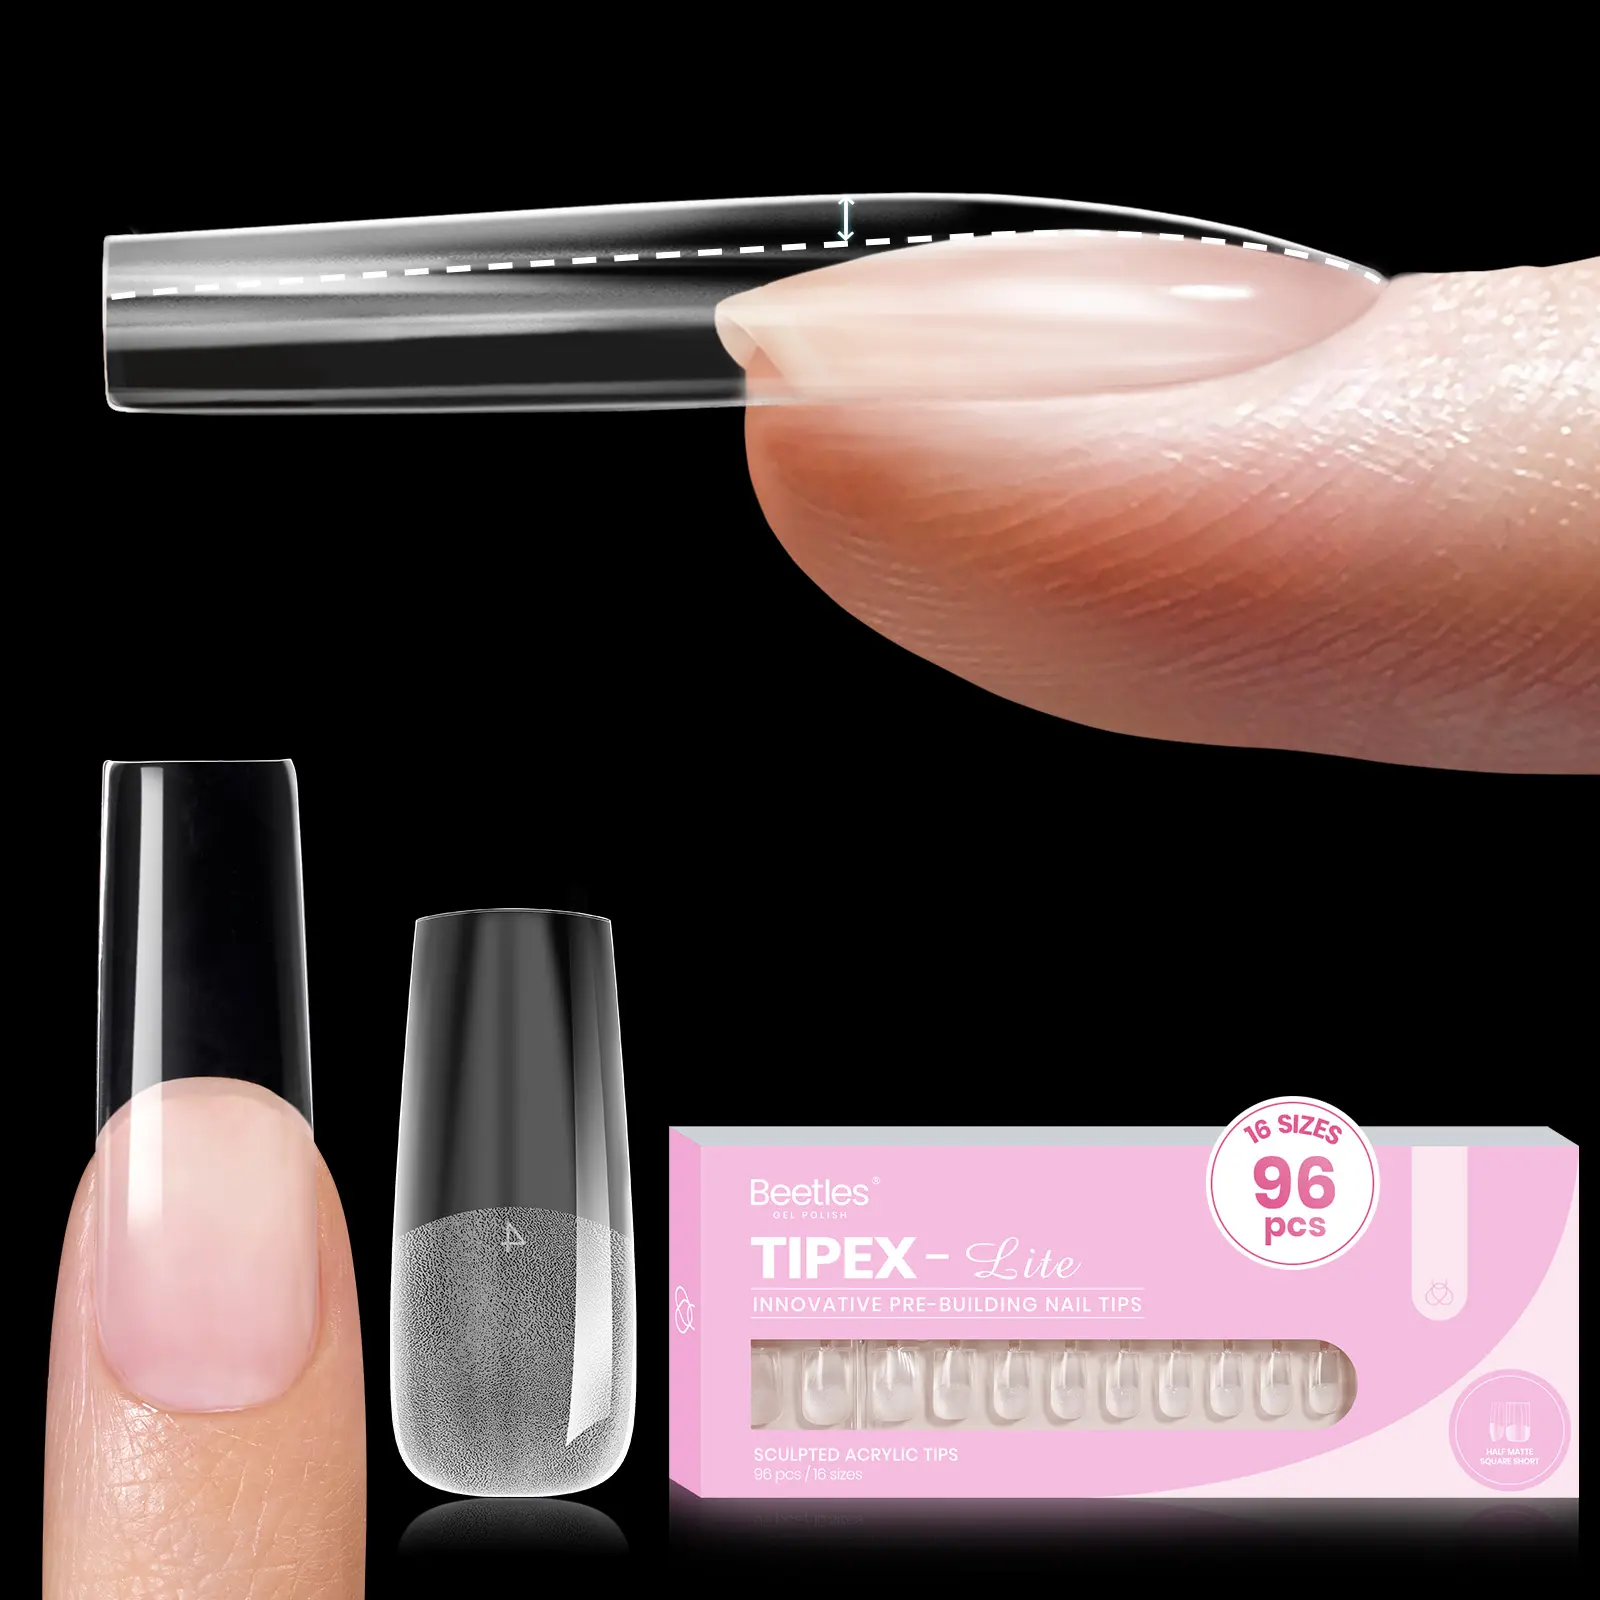
- Select Your Tips: Choose nail tips that fit your natural nail shape. Apply them securely using nail glue.
- Apply Acrygel: Using a brush, apply a thin layer of acrygel over the tips and blend it down onto your natural nail.
- Cure the Acrygel: Use a UV or LED lamp to cure the acrygel. This step is crucial for achieving a strong bond.
- Shape and Finish: Once cured, file and shape the nails to your liking. Finish with a topcoat for added shine.